

long long time ago (3 or 4 years ago) Andre Streem, a good fried of mine and the head of the Youtube chanel Reload asked me to Paint one of his figs....a Space Marine Chapter Master on Salamanders colors.
Well I obviously was honored by the request and...well 3 years later, before my most recent trip to Brazil in November 2013, I decided to give some TLC to his mini and get it done.
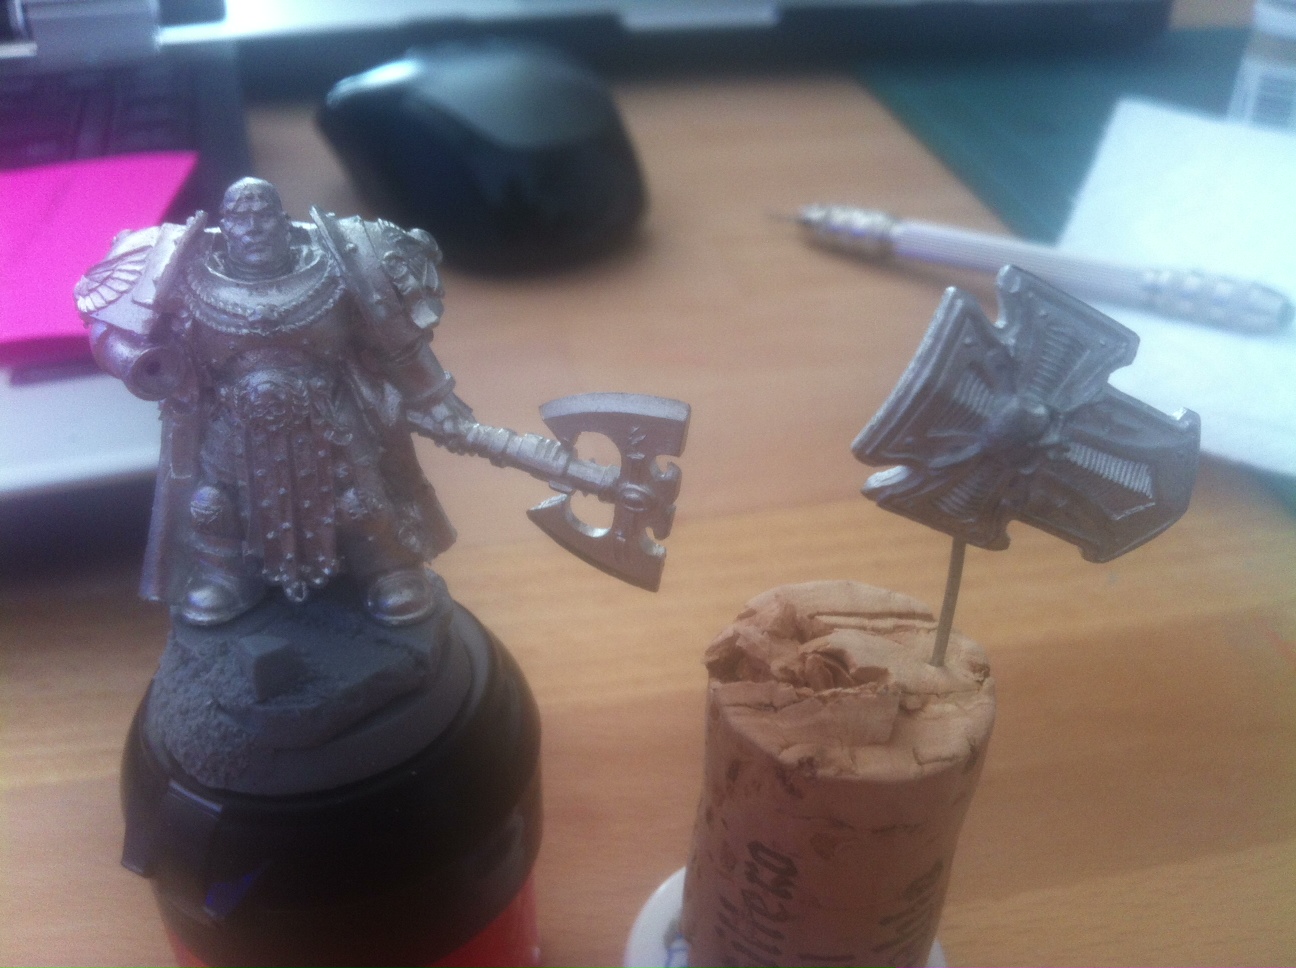
I've been exploiting the Zenithal primer concept which is basically pre shade the miniature using Black, Grey and White primer before any other collor. With that the shades and highlights are sort of already there. Well I used that to start with and a basecoat of a Vallejo Dark green....I'm bad with color names so forgive me for that I will try to improve for comming posts...airbrushed the miniature all over with the same collor except the cape....unfortunately the green coat was too thick and the Zenithal effect was lost on the armour but respected on the cape...oh well!!! Using a technic called 2 brushes blending I started to manually highligh the green with multiple layers of a mix of Green and Yellow that went gradually to yellow....the 2 brushes technic is fairly simple but requires practice...which I'm doing as often as I can. The idea is to dilute the paint a little less than whats used for airbrushing but a little more than what you normally use for brush....you keep one brush that will be used for the paint and one clean that you will basically lick and use your saliva will to help blend the layers....yeah, your saliva...so don't go ahead lend brushes from your friends if you care a little about hygene.The effect turned out very smooth and was fun to do.
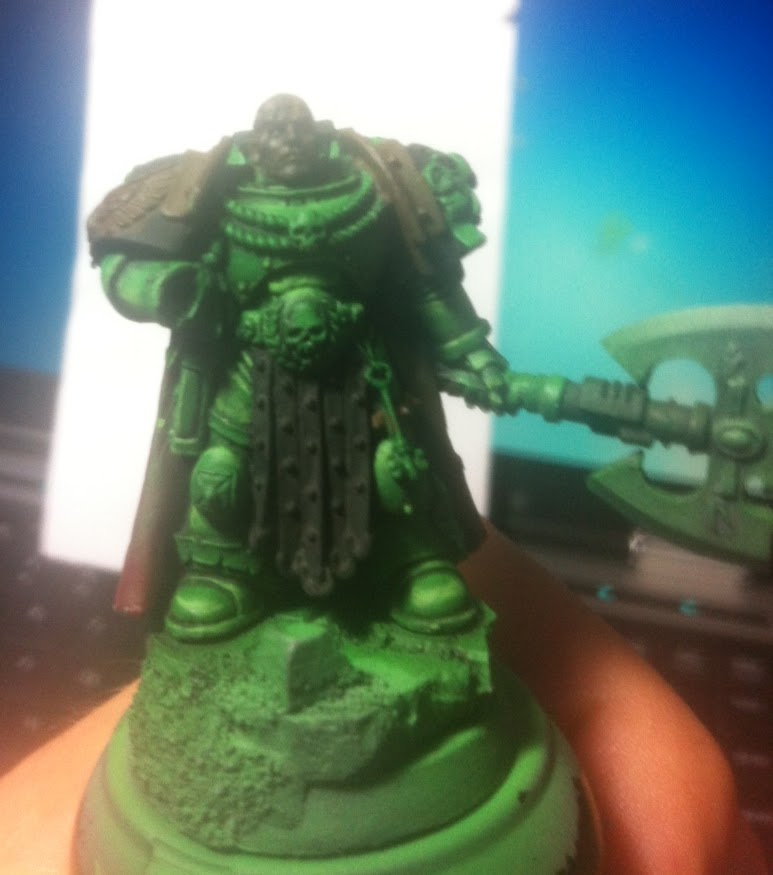
After that I tackled the cape...same concept but with shades of dark red but since the Zenithal was preserved and I was aplying using brush instead of airbrush I was able to get a much better effect and in no time got a nice cape done.
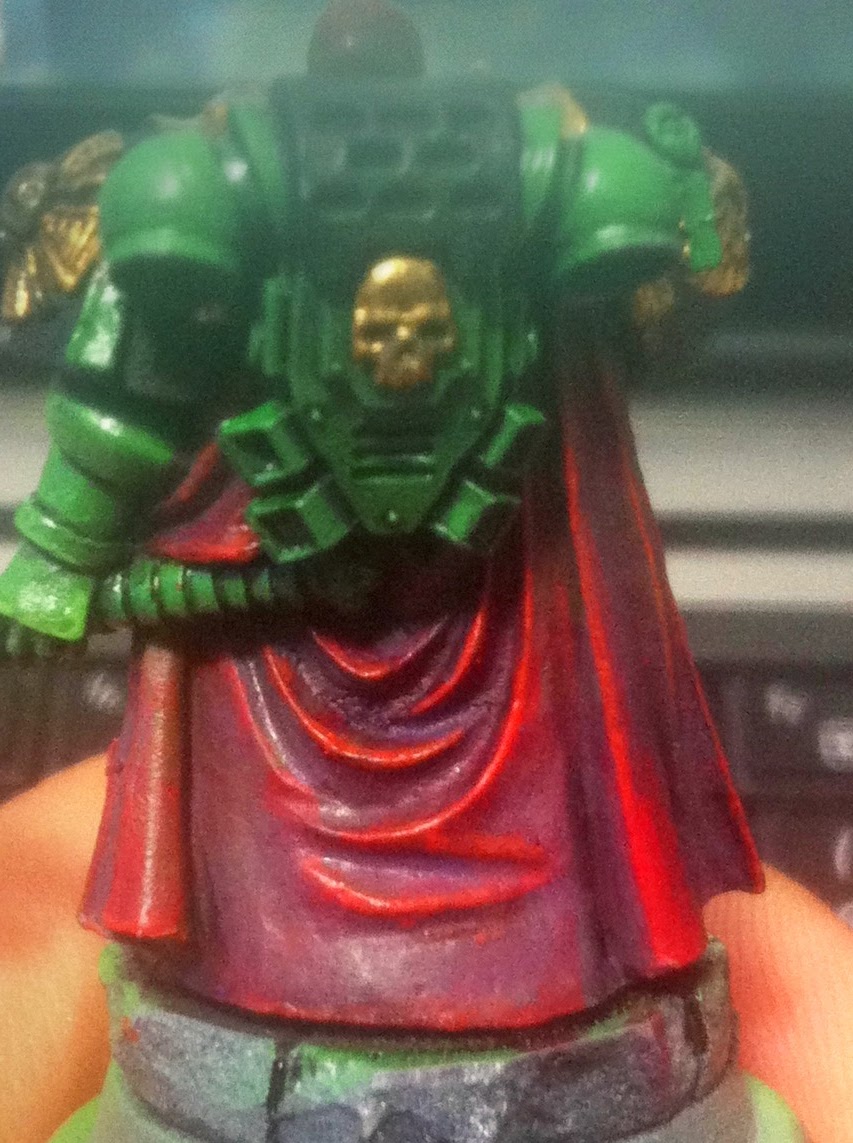
For the head I decide to use a Chocolate brown skin tone, starting from dark brown and black and brown washes to smooth things out. Red yes to sort of stick to the Salamanders fluff!
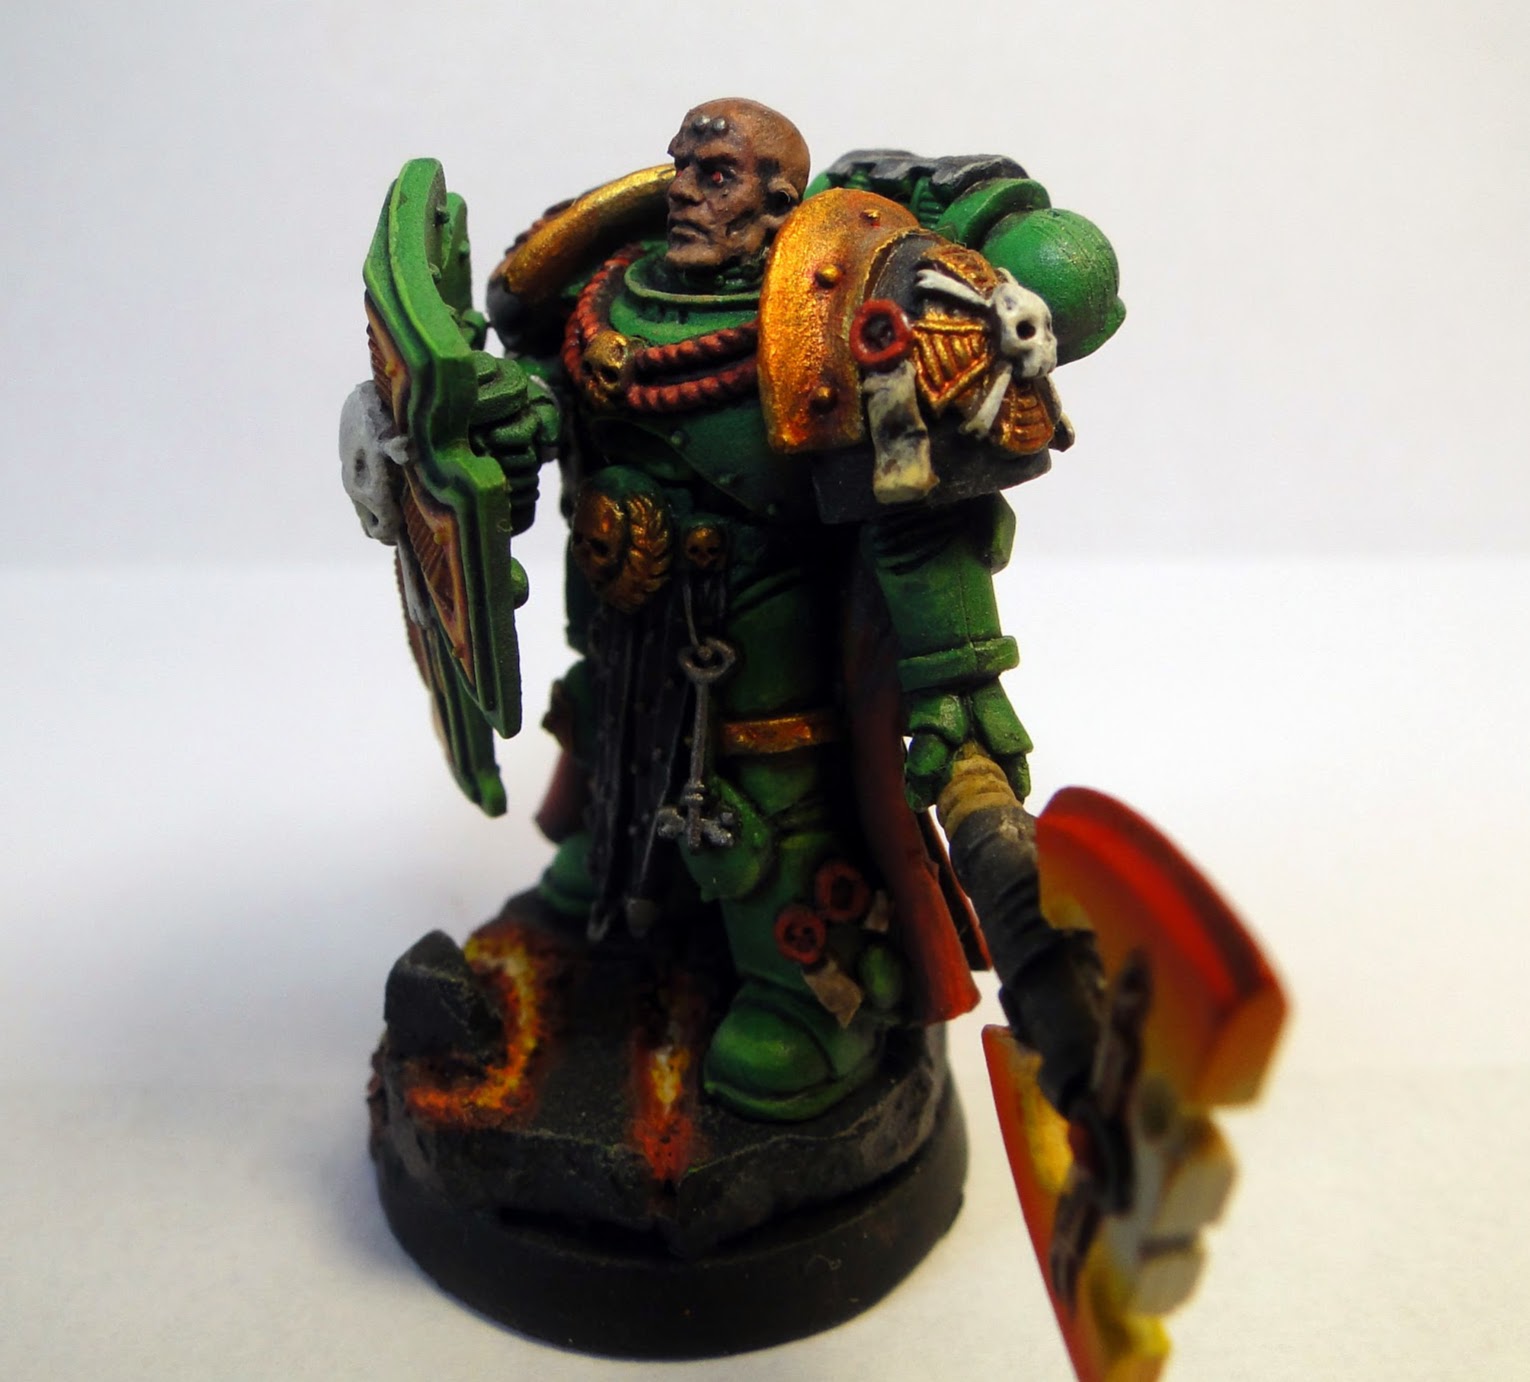
The shield and Axe was the fun part of it and where I learned the most with the mini. I was trying to get a flame effect out of it....so I painted the internal trim and the axe blade with a gradient effect but istead of going from the darker to lighter I went from the lighter to darker....I don't know if you noticed but fire is actually white in its center and dark brown/redish in the outside.

The shiled I did it carefully with brush...from a Chocolate Brown, passing through a blood red, orange, yellow and white in the very center. I used a No. 1 or 2 size brush....the trick is good quality brush that can hold a good amount of paint and maintain it's tip.

The axe, same collor scheme but with the airbrush....I masked the whole mini, Oh By the way....I gave a nice coat of Future, to use as gloss varnish to protect the paint job done so far!....so I masked the mini with PVC film and masking tape and started to work....initially I did free hand....and the result was awlfull....more of the orange than anything else, very little control....then I had the idea to use a template....used a small GW plastic round base...proped agains the axe with a little gap..and sprayed from the back (hard to explain really) so it could get just a little mist of the new layer over the previous layer of collor to blend...if it makes sense...well probably not! Two trials later I got the end result....you still can see a little rough transition but was a good start as it was the first time for me!


For the base I used a resin base from the australian Back-2 Bas-ix, same that I use for my BAs as I have a ton of those. Black Primer, some dark grey highlight and on the cracks I tried to get some lava effect...once again same gradient effect from Brown to white as I did on the shield and Axe.
To wrap up, Gloss Varnished with Future one last time (I use it multiple times when I'm airbrushing. Helps to preserve the miniature from one session to the other) Matt coat and Voila!!!! done, done.
I was very happy with the result, and hopefully Andre was too.


*Special thanks to Andre Streem for the nice pictures, as my phone camera really suck!
Cheers
"Ultra"Marcos
Nenhum comentário:
Postar um comentário